

Introduction:
On the 30th of September 2019, Microsoft announced Windows Virtual Desktop General Availability.
Windows Virtual Desktop brings a new era to the End User Computing market where Microsoft takes back the management and configuration of the core Microsoft Remote Desktop infrastructure and allow customers and partners to manage the Endpoint Client and Azure Subscription side only. In effect, this removes some of the complexities with deploying a VDI solution as you only need to worry about the image management, apps, maintenance and permissions. You no longer need to focus on the core infrastructure components like Web Access, Gateway, Broker, SQL or Diagnostics.
in addition to this, Microsoft acquired FSlogix late last year further enhancing their offering enabling WVD to offer a fully stacked solution including Profile containers and application masking.

Windows Virtual Desktop (WVD)
High Level Architecture:

High-level architecture
As shown in the High-Level Architecture above, Microsoft Provides the WVD virtualisation infrastructure as a managed service. This means that customers are only responsible for the subscription and only have access to the subscription within Azure.
Key benefits of WVD:
- Enables a multi-session Windows 10 experience, optimised for Office 365 ProPlus
- Supports Windows Server (2012R2+)
- Most flexible service allowing you to virtualise both desktops and apps
- Windows 7 virtual desktop with free Extended
Security Updates - Integrated with the security and management
of Microsoft 365
Windows Virtual Desktop Licencing:
Before we start with a basic deployment, you need to ensure you have the correct licencing for Windows Virtual Desktop. Remember, if you are deploying Server Session based pool’s, you need to have a RDS Client Access Licence (CAL), if you are deploying Windows 10 or Windows 7, you need one of the 365 licences.
For a Session based Server deployments, it does appear that you will still need to deploy a RDS Licencing server to manage RDS CAL's. If you want less infrastructure, you should move to W10 Multi session.
| OS | Required license |
|---|---|
| Windows 10 Enterprise multi-session or Windows 10 Enterprise | Microsoft 365 E3, E5, A3, A5, F1, Business Windows E3, E5, A3, A5 |
| Windows 7 Enterprise | Microsoft 365 E3, E5, A3, A5, F1, Business Windows E3, E5, A3, A5 |
| Windows Server 2012 R2, 2016, 2019 | RDS Client Access License (CAL) with Software Assurance |
Requirements for Deploying Windows Virtual Desktop in Azure
There are some pre-requisites to ensuring a smooth deployment. You first need to ensure that you have met the requirements for Active Directory, Networking and User permissions before attempting to deploy a hostpool to a created tenant.
Active Directory Requirements:
WVD uses both Active Directory and Azure Active Directory Services. When Deploying a WVD hostpool, you need to ensure the UPN is linked between the two. Or use AADS as a alternative to the typical on-premises AD.

Option 1 – Recommended identity setup for hybrid organisations

Option 2 – Recommended identity setup for cloud-based organisations
Network Requirements:
- The tenant Network must route to a Windows Server Active Directory (AD)
- This AD must be in sync with Azure AD so users can be associated between the two
- VMs must domain-join to the AD Server.
- For complex networks, you may need to consider peering or gateway VPNs.
- Ensure you have included all the required TCP 443 outbound URL’s on any firewall or other security appliance .

Network requirements and considerations
Basic Deployment of Windows Virtual Desktop (Azure)
Consent to Deploy Windows Virtual Desktop
You first need to give consent to access WVD portal. You can do this by visiting a web page as detailed below.
Navigate to the following page and enter your AAD Tenant Guid: https://rdweb.wvd.microsoft.com/

Windows Virtual Desktop Consent Page
You can find the AAD ID by following the link provided below to Azure’s portal: https://portal.azure.com/#blade/Microsoft_AAD_IAM/ActiveDirectoryMenuBlade/Properties
Configure Enterprise Application Administrators in Azure AD
This section requires you to assign a tenant creator to AAD user accounts which will be used to deploy WVD.
Same again, navigate to the following AAD page:
https://portal.azure.com/#blade/Microsoft_AAD_IAM/StartboardApplicationsMenuBlade/AllApps/menuId/

Windows Virtual Desktop User and Groups
- Search for Windows Virtual Desktop and select the icon.
- Select Users and Groups, then add the users you require access to WVD:
- Add the user required and ensure the role is set to assigned.
Deploy a Windows Virtual Desktop Tenant in PowerShell
Run the following powershell cmdlets to create the tenant of your choice, ensure you have both the AAD tenant id and the Subscription id to hand.
Install-Module -Name Microsoft.RDInfra.RDPowerShell Import-Module -Name Microsoft.RDInfra.RDPowerShell Add-RdsAccount -DeploymentUrl "https://rdbroker.wvd.microsoft.com" New-RdsTenant -Name <YourTenantName> -AadTenantId <YourDirectoryID> -AzureSubscriptionId <YourSubscriptionID>
Use the following command to check that your Tenant has been created:
Get-rdstenant
Provision a Windows Virtual Desktop Host Pool in the Azure Portal
Five Key Steps: This section shows you how to deploy a Windows Virtual Desktop (WVD) Host Pool in the Azure portal.
First of all, you will need to search for Windows Virtual Desktop host pool deployment in the azure market place or alternatively click the following link provided: https://portal.azure.com/#create/rds.wvd-provision-host-poolpreview
You will now be shown the “Windows Virtual Desktop – Provision a host pool” page. Click on the create button and follow the 5 key steps to deploy your first host pool.

Provision a Host pool – WVD
Step One is to configure the basics, selecting the correct subscription if you have more than one, and the details of region and Hostpool Name. This is also where you would select the type of desktop ether pooled or personal.

Basics wvd page
Step Two is to configure the virtual machine requirements. Select the total number of users which will roughly calculate the number of Virtual Machines you may require. You will also need to specify your Name prefix.

Configure Virtual Machines – WVD
Step Three would be to configure the virtual machine settings including selecting the image, disk and entering the administrative details for AD Join. You would also choose which virtual network and vmSubnet you would deploy to.
Please note: you can choose a custom image here if you have created one in preparation.

Virtual Machine Settings – WVD
Step Four is to enter the tenant group, If you have not changed the Default Tenant Group, leave as default. Enter your tenant name for the hostpool and enter the tenant RDS Owner details (UPN or SP).

Windows Virtual Desktop Information -WVD
Step Five would be to review the configuration and confirm before deploying the hostpool.

Review and create Host Pool – WVD
If you get an error – especially DSC failure, you need to check you Azure configurations and permissions. As it is most likely related to the requirements as mentioned above.

DSC Failure – WVD
You should see the following if successful. The next step would be to check the session host has been added to the tenant correctly and there is a heartbeat.
Get-RdsSessionHost -TenantName <yourtenantname> -HostPoolName <yourhostpoolname>

Screenshot of Successful WVD Host Pool Deployment
There you have it, finished… subject to no errors, you should now be ready to start using WVD.
Connect to you Windows Virtual Desktop Environment:
Web Client:
You would access your WVD environment here, using the following link:
https://rdweb.wvd.microsoft.com/webclient/index.html
Login and you should see a screen like below.

https://rdweb.wvd.microsoft.com/webclient Web Page.

Web Browser login screen – Web Browser

Windows 10 Multi Session – Web browser session
Remote Client:
You can download the WVD Client Here: http://aka.ms/wvd/clients
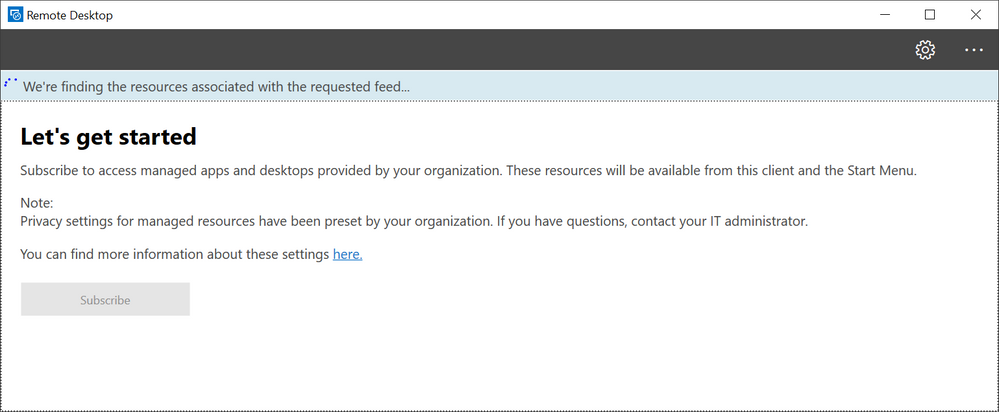
Remote Desktop Client WVD
My Closing Thoughts on Windows Virtual Desktop
Microsoft’s Cloud Virtual Desktop solution: (Windows Virtual Desktop AKA WVD) Offering brings a whole new set of capabilities and possibilities. This new Software as a Service solution provides the ability to deploy and scale up VDI environments quickly and enables customer IT departments to adapt to end user needs that are constantly changing and meet the new requirements at ease like high performance graphics.
When testing performance on applications and the web browser, i did find performance to be solid. I did also note that when accessing office 365 services like One-drive and SharePoint, file access and uploading is much quick as you are using Microsoft’s network. It does appear that some of the optimisations have been taken care of on the pre-built templates in the Azure catalogue.

WVD Drive test
The product has a lot of positives and is a direct replacement for those using on-premises Remote Desktop Services AKA (RDS). If you already have an Azure tenant and services running or even a traditional RDS deployment in Azure, its not too much effort to move over to Windows Virtual Desktop.
Thank you for reading and any questions, please don’t hesitate to message me.

Leave a comment